“Cortney Made This” Monday: Fabric Arts Projects!

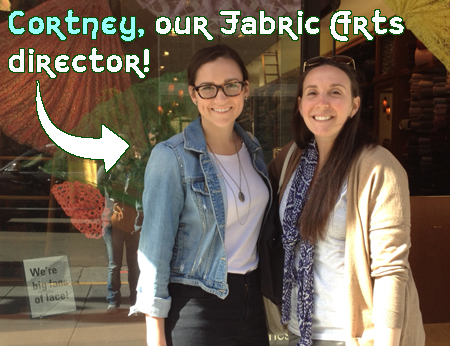
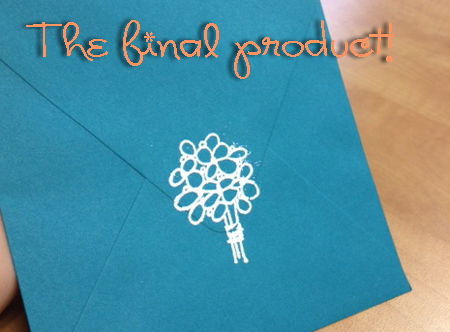
A few weeks ago when I was in San Fransisco, I met up with our Fabric Arts Director, and we started talking about project ideas for the upcoming summer.  Cortney plans to make this project with some of the groups that come through the program this summer…it’s adorable, and of course it’s got Blue & Gold Camp Canadensis spirit!  Check it out…

I was inspired, so I decided to make some Blue & Gold accessories too.  I made the bracelets below using two different techniques we’ll be teaching in Arts & Crafts this summer.  I was wearing them when I saw Rachel & Sabrina (soon to be Freshman girls) and they gave them the thumbs up!

“I Made This” Monday”: Vertical Garden Pallet

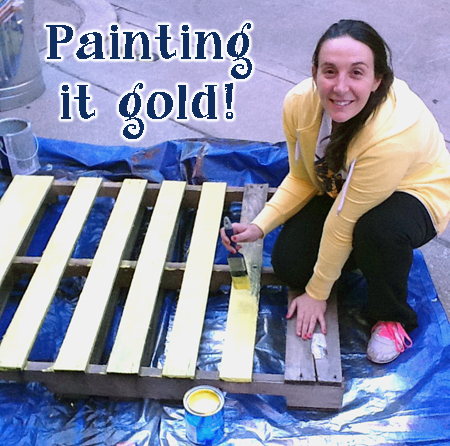
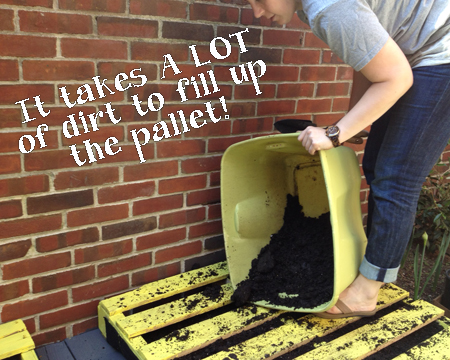
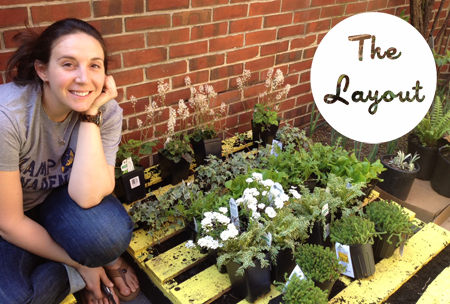
This project has been a LONG time in the making!  This fall…Dave brought home a surprise for me one day after work.  It was a pallet, which isn’t ordinarily very exciting.  But, he had seen an article about someone who took a pallet and turned it into a vertical garden, and he thought it would be fun for me to do the same thing…so here’s what I did…I painted it (Canadensis Gold of course!) and then I added fabric weed backing around the sides and the back in order to make it a structure that could hold soil and plants.  Then, it got very cold…so I just left the pallet painted and empty over the winter.  Once it warmed up, I put on my flip flops and purchased soil to start filling in the entire pallet.  It takes A LOT of soil to fill up the pallet.  I had originally bought 4 bags thinking I could make two pallets, but it wasn’t even enough for one!  My suggestion is to buy extra and return it later if you don’t need it…Then, I took a trip to my favorite place on earth…Terrain in Glen Mills, PA.  If you live anywhere within two hours of this place, I recommend clearing an afternoon for lunch and shopping here!  I purchased all my plants at Terrain, and I tried to get things that were hearty and perennial.  I played around with my layout for a while before I started planting everything.
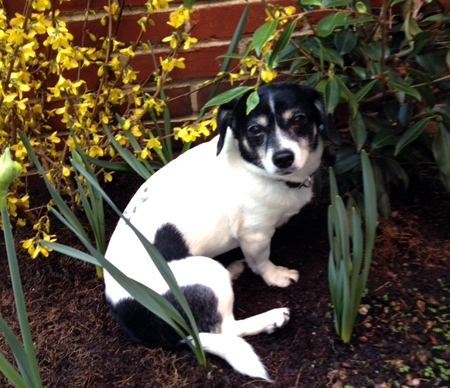
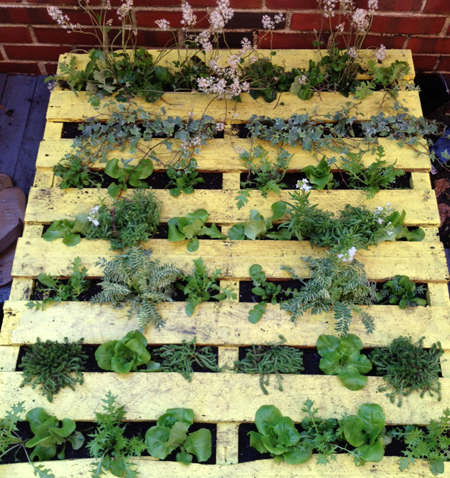
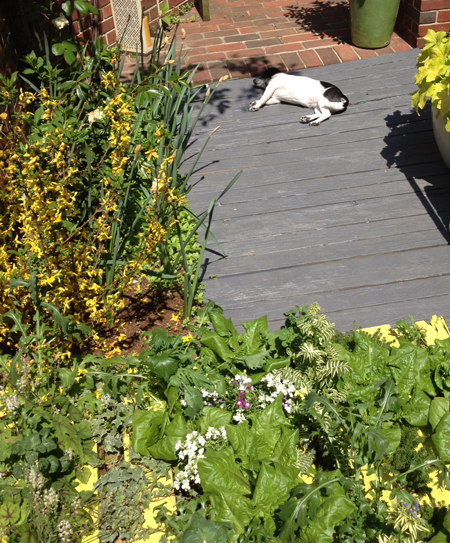
Annie gets a little bit jealous when I spend too much time in the garden…she doesn’t like when the plants get all the attention.  Here’s a picture of her trying to blend in with nature…Anyway, after about 3 hours of packing all the dirt into every corner of the pallet, I was finally ready to plant, and here’s what the pallet looked like at the end of the day.  I needed to leave it on the ground for a month so that the roots could take hold, and then it would be ready to lean up against the wall.  In four weeks……it looked like this!  My pallet garden had grown out of control!  It was finally time to lean it up, but I had to give it a big haircut first.  Luckily, it was a sunny day, so Annie didn’t mind me spending time with the plants…So, I trimmed the plants back, and Dave helped me lift the very heavy pallet into place.  If you are going to try this, it is really important to have strong layer of fabric weed backing…trust me!
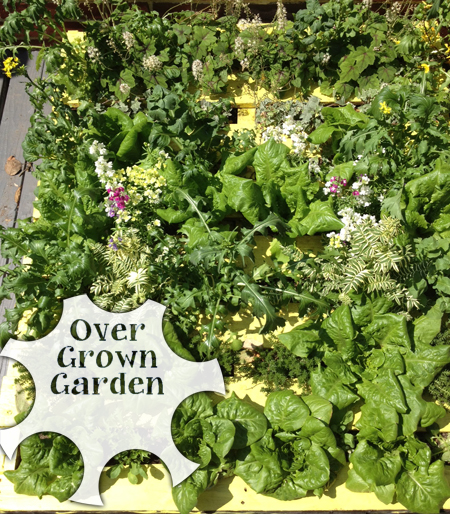
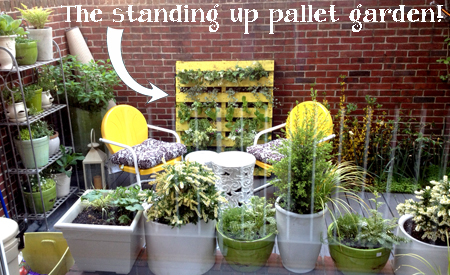
It’s worth the effort though, I love the way it turned out!

What To Pack For Camp…

This is a question I often hear around this time of year…packing for camp is a big task, and we are here to help whenever questions arise, don’t hesitate to call the camp office!

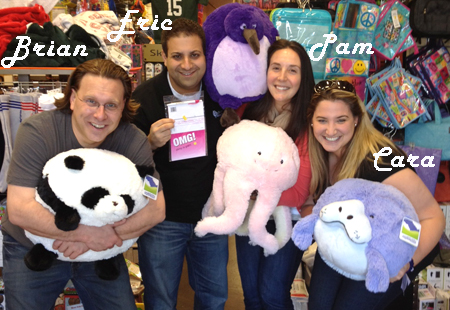
On a recent trip to Long Island, NY – Brian, Eric, Cara and I made a stopover at Morton’s in Cedarhurst – which is an official distributor of Camp Canadensis gear (it’s where I used to shop for camp as a kid!)  There are so many fun things for camp in stores like these, but no one needs everything!  Before making purchases, stop and think about what you camper needs, and the camp packing policy.

At Camp Canadensis, our goal is to maintain a simple, “down-to-earth” environment, without an emphasis on clothing.  Clothing should be casual and comfortable.  We see our parents as partners in creating a healthy and non-competitive environment that allows campers to achieve a strong sense of individuality and self-esteem that isn’t characterized by materials, clothing or labels.  We send home a packing list with a suggested number of items as a guideline when preparing for camp, and we ensure that campers stay withing these guidelines.  Simply, please keep in mind that this is camp!

In the photo above, we are holding squishables – which are super soft and cute, and I expect to see quite a few of them around camp this summer.  I really did fall in love with the happy pink octopus I was holding, but, as you can see…they are also quite large!  So here are some packing tips when it comes to packing things like squishables…

1.  We really only need one or two pillows for sleeping, and a few stuffed “friends” to hang out on our bed.  I think the ideal number of pillows/stuffed friends is right around 5.

2.  If a squishable is going to make the cut in your camp luggage this summer…do you really also need a pillow pet?  Probably not.  As you are packing, think about similar items like this…and choose the one your child would use the most.  Let only that one make the trip with you to the Poconos.

3.  Think about skipping the “autograph pillow”…our girls side campers have a graffitti party where they write notes to each other on t-shirts, so is an autograph pillow worth a spot in your top 5 bed accessories?  On boys side, they often use the end of the summer shirts to write notes to each other.

4.  Things at camp get used…a lot.  It’s not a pristine environment for favorite stuffed animals or cherished blankets.  Think about how durable these things are before packing it for camp.  If your child can sleep without, maybe it’s a good idea to keep these items safe at home.  You can take photos of them, and send the photos up to camp as a reminder of what’s waiting for them after the summer.

Just one example of how to pack items for camp…again, if you have question don’t hesitate to be in touch!

Long Weekend in San Francisco!

Just before the calendar page flipped from April to May, I spent four amazing days with my two closest college friends, who both live in San Francisco, and are named Julie!  They planned an absolutely perfect pre-camp trip for me, and the weather really cooperated!  We got to do a lot of camp activities…including bike riding, cooking and hiking!  It was so great to catch up and share old college stories and photos.  I also wanted to see GIANT trees, so we went to Muir Woods and I was so impressed!!  I think the Canadensis trees are beautiful and tall, but these redwood trees are super huge and as tall as skyscrapers…

Before heading out of town, I got met with Cortney, a student at the Academy of Art University in San Francisco.  She is going to be our Fabric Arts director, and she is coming to camp for her first summer.  We decided to meet up and shop in an amazing fabric store in order to start brainstorming up some great camp fabric projects!  I’m so excited for the program she is going to run this year, and she will be putting together some sample projects for me to share on the blog soon!

“I Made This Monday”: iPhone Cover

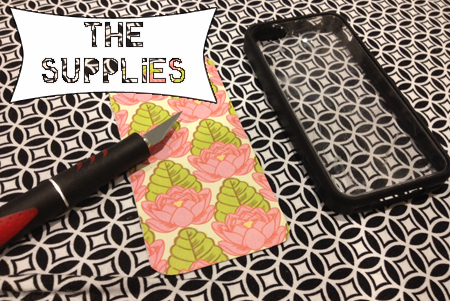
A super quick project…but you definiteily need parental supervision if you want to make this!  You will need…

1.  Scrapbook paper

2.  Scissors, or an exacto knife (ask your parents!)

3.  A clear cell phone case

4.  It’s helpful if you have a cell phone to make this project for 🙂

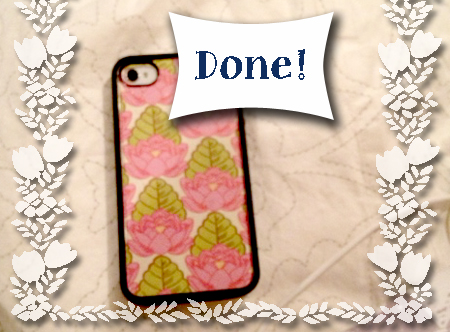
All you have to do is trace the shape of your case, and then cut it out.  Make sure to cut out the spots where your phone has the camera lens.  Then, put the paper behind the clear case, put your phone in, and you are done!  It takes less than a minute, so I’ve made a bunch of covered, and I plan to make a Camp Canadensis one soon!


Follow Me on Pinterest

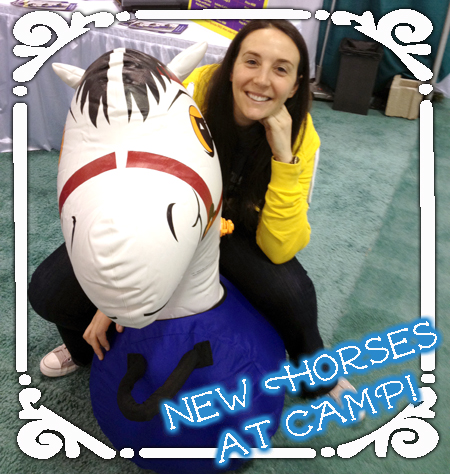
New Horses at Canadensis!

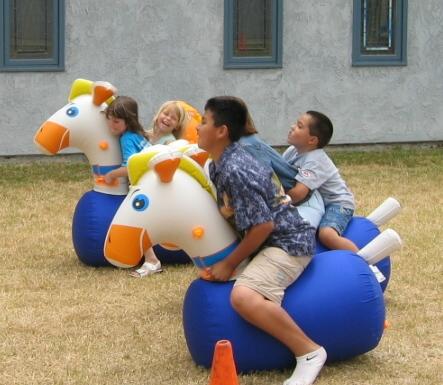
We have some new horses coming to Camp Canadensis this summer, and although they won’t need to be fed and groomed like our real camp horses that live at camp, these guys will definitely be fun to ride!  It’s sort of like an individual inflatable “bouncy castle”, and we are going to come up with SO many games and ways to use them this summer…it’s going to be so much fun!!

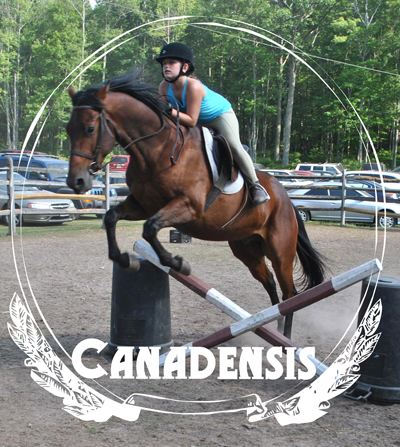
If you also want to do the “traditional” horseback riding at camp this summer, don’t worry, we will still have 5 horses living at Canadensis this summer, and they can’t wait to start taking the kids on trail rides.  Horseback Riding is one of those amazing activities that you can’t really try in your backyard, so it’s great when you can test it out at camp!  Check out this amazing photo of Dana, an Upper Inter Girl doing jumps at camp last summer!

If you want more information about horseback riding lesson, contact our office at 484-674-1941.

“I Made This” Monday: Bracelets

Can’t you feel it?!  Camp is getting SO close!  This warm weather just makes me want to put my friendship bracelets back on, and start building my 2012 “Camp Wrist“.  A “camp wrist” is how you lovingly display all of your favorite friendship bracelets, and as you get more and more throughout the summer, it gets higher and higher up your arm.  When it reaches your elbow…it means camp is almost over!

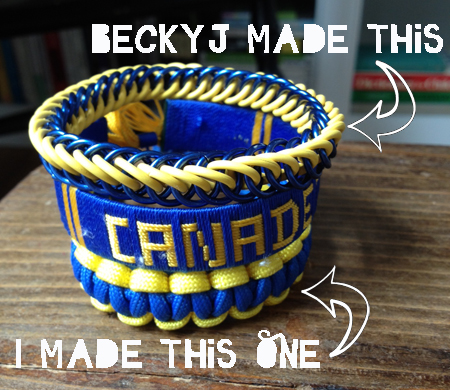
My absolute favorite friendship bracelet was made for me by BeckyJ (she is going to be at camp for her 13th summer, and will be a Group Leader!) and it’s the top one in the photo above.  It’s made out of rubber and metal chainmaille links – and she tried to teach me how to make it, but it’s really hard, which only goes to further prove how amazing she is!

The middle one was brought back from Africa by Terri Konst who has been working at camp for many years, and has been making sure our Evening Activities are top notch for the past four summers!  It’s one of the coolest bracelets I’ve ever seen, and they were very popular with the 2011 CIT Girls.

I made the bottom one on the last day of camp in 2011.  It was during the street carnival, and one of our staff members was teaching us how to make parachord bracelets – I always love learning a new skill, and I love the way it turned out!
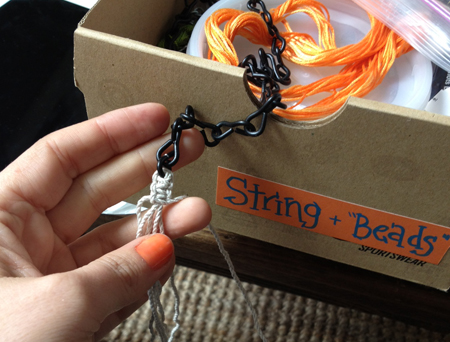
These bracelets will definintely be on my “Camp Wrist” this summer, but I wanted to try out a few more options that I’d been seeing on Pinterest lately, so I got out some supplies…We keep our Arts & Crafts room SUPER organized, and I try to do the same at home.  I keep all my bracelet making supplies in a labeled shoebox, and it’s full of chains, string & beads.  Here’s what I made…

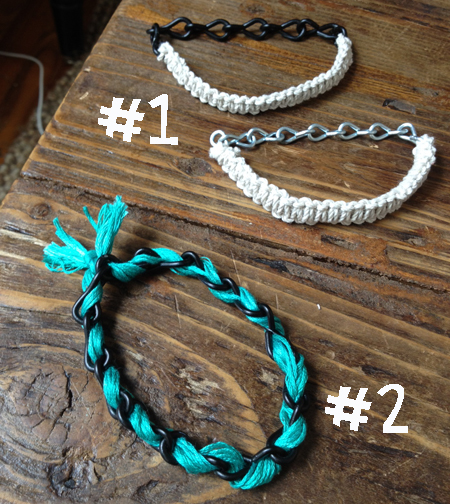
#1 Is just the standard “cobra” stitch made with a cotton rope, and I used a chain to attach the ends so I could roll it on and off like a bangle.  I used a dab of glue on the ends to keep the rope from fraying.  It was super quick so I made one in silver, and one in black.

#2 Is a quick version I made of the necklace tutorial you can find here: I used some friendship bracelet thread and just wove it through the chain and tied it all off together.  I think this will be a great project for art this summer!

More bracelets to come soon!  Remember…you can follow Camp Canadensis on Pinterest now!

Follow Me on Pinterest

Home Visits: Eli & Lucas

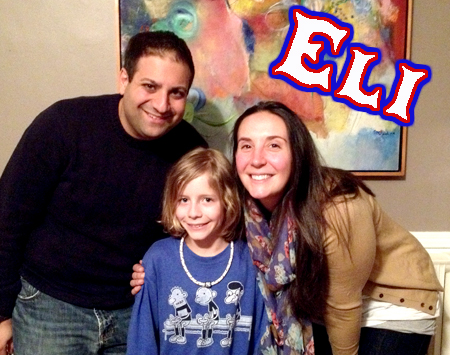
Eric and I got to hang out with a new camper this past week…Eli is a current 4th grader, and will be a Lower Inter Boy at camp this summer.  He lives in Philadelphia and goes to school at Friends Select, and in the past few summers he’s been splitting time at the beach and day camp, but he’s excited for his first summer at Canadensis!  He’s done some camp overnights before, so he is ready to leave the day camp behind and have 4 weeks of non-stop action.

Eli has a younger sister and brother, and when we visited they had just gotten back from Disney World, where they had conquered just about every ride!  He enjoys pretty much everything we have to offer at camp.  During the school year, he especially likes tennis and skiing.  He’s skiied most of the slopes in the Poconos, so he should be able to learn to waterski pretty quickly this summer!  Eli is also a guitar player, and will be bringing one to camp with him this summer…I can’t wait to hear him play.  He also happens to be a Yankees fan, so we will be cheering together at morning line-up when the pinstripes have a great game this summer!

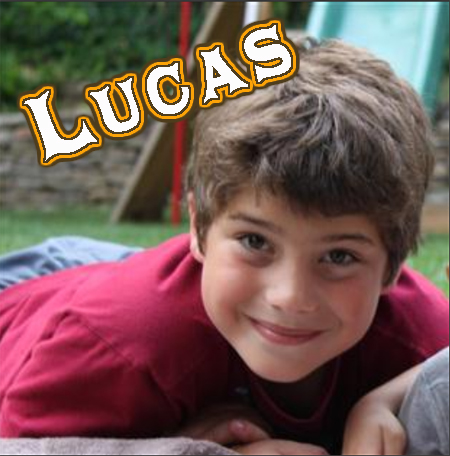
Another new Friends Select student is coming to camp this summer too!  Lucas is in 4th grade and will be a Lower Inter Boy for the first time this summer, but Camp Canadensis is a family tradition for him!  His mom was a Canadensis camper, and he is really looking forward to his first summer around Lake Lenape.
Lucas has two younger brothers, and he loves baseball above all else.  He also enjoys playing tennis and soccer and looks forward to trying out lacrosse at camp.  Most of all, he can’t wait to try out the hondas motorbikes and do the lake activities this summer…we can’t wait to see him zooming around the lake and trails!

“I Made This” Monday: Notebooks and Stencils

I woke up Saturday morning in a crafty mood, so I decided to make some small notebooks!

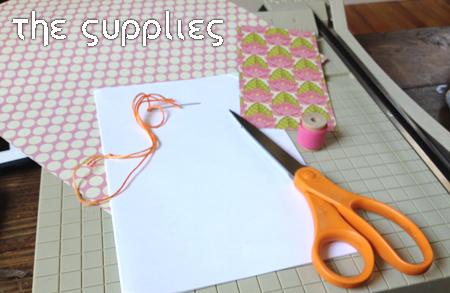
As always, step one is to ask your parents and then you can gather your supplies.

1.  Scrapbook paper

2.  Plain printer paper

3.  Scissors (and a paper cutter if you have it)

4.  Strong, but sharp needle with thread (I used the thick kind you use for friendship bracelets)

5.  Pretty tape (I used washi tape, but duck tape would be cute too!)

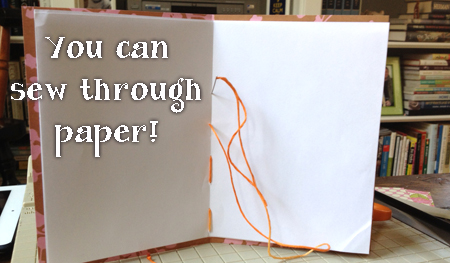
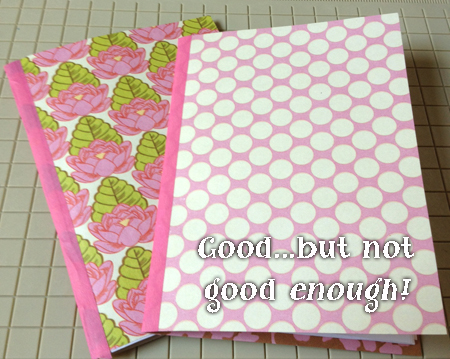
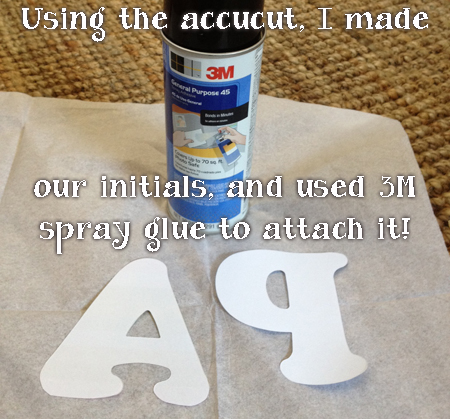
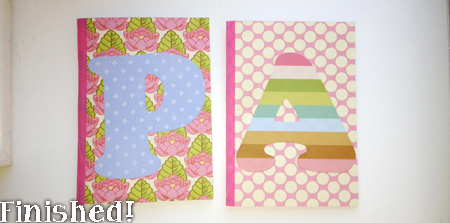
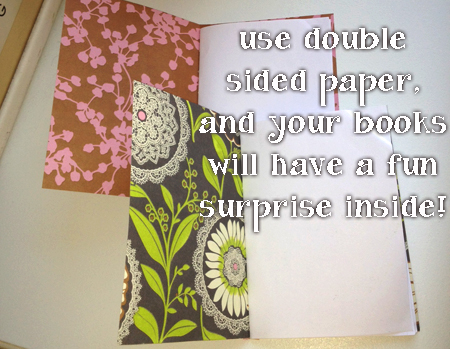
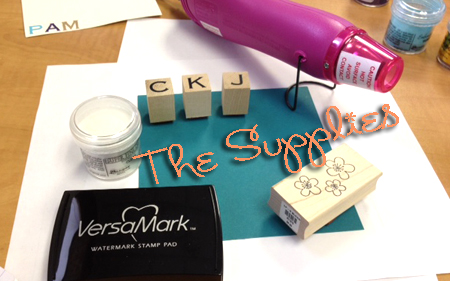
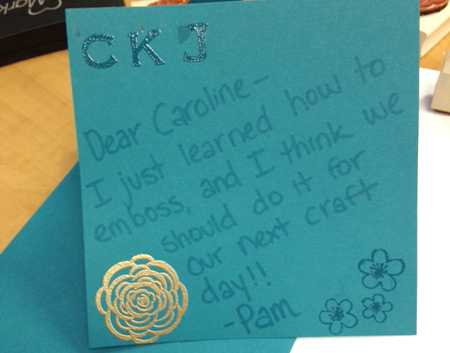
All you have to do it cut the printer paper into a size you like, and then you will fold it in half (remember, this doubles the amount of pages).  I suggest only using 5-8 sheets of printer paper so you can easily sew through it.  You want to make a REALLY good crease in the middle so that you have a nice binding.  Then start sewing!Next, you’ll put some tape on the edge to cover the stitches and give it a nice edge.  I was really happy with the way these looked, they were good…but not good enough!  My friend Ali was with me while I was crafting (she is a former Canadensis counselor!!), so I decided to add a little detail to the front… I used the accucut to cut out our initials in a contrasting scrapbook paper, and then I used some spray glue on the back to turn it into a sticker.  You can use any kind of glue, but this stuff is great because it doesn’t make your paper wet and gloppy.  And now…it was finished!

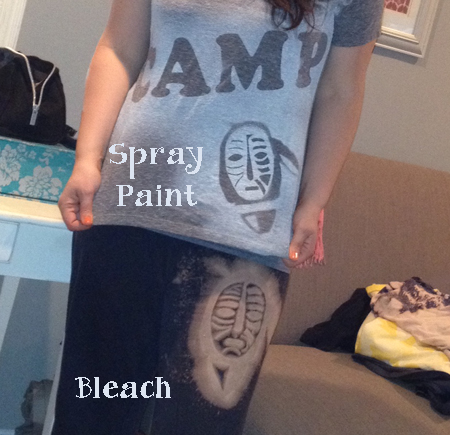
But after making some notebooks, I still had a lot of crafting energy!  So, I decided to make the freezer paper stencils I’ve been seeing all over pinterest, and turn my boring plain t-shirts into exciting Canadensis Gear!  This project definitely needs parental supervision.  Instead of explaining all the steps, I’ll let you click here to read about how to do this project…

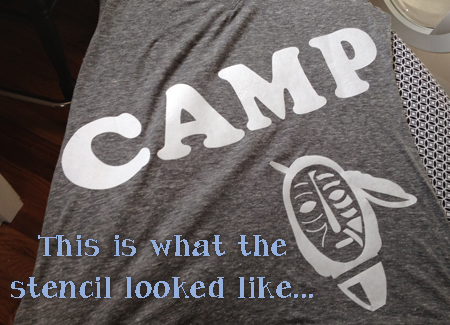
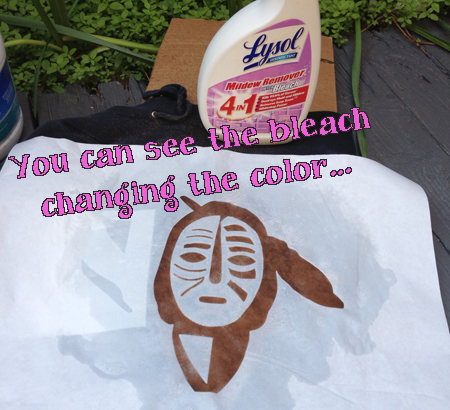
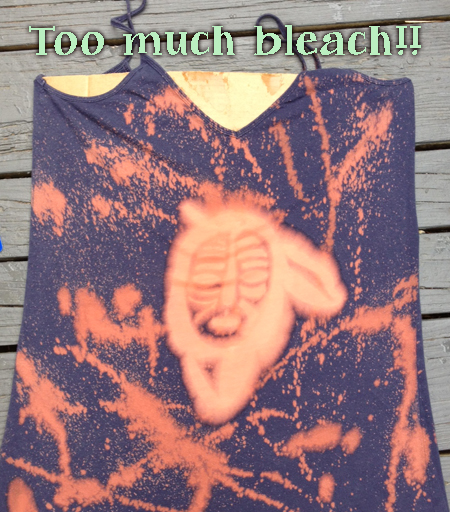
A few months ago I showed you the awesome personalized Indian Head Accucut tray that we got, and I thought it would be the perfect thing to use and experiment on shirts.  I cut out the logo and letters, and all you have to do is iron the shiny side down (it comes up REALLY easily later).Then, I took it outside to a well ventilated area, and I started spritzing.  My bleach must have gone bad because it wasn’t working…but this bathroom cleaner did the trick.  (I later went to the store and bought new bleach!).The shirt I’m wearing didn’t bleach at all…I kept adding more, but the colors didn’t run.  I didn’t want to waste the cute design, so I spray painted over it so that when I peeled up the freezer paper, you could see the design.  My sweatpants came out cool…love them!  Even though the bleach spread a lot more than I planned, I will definitely still be rocking them this summer, so watch out!
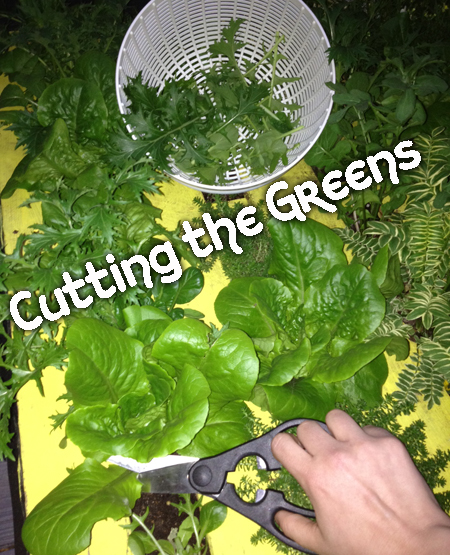
So, my experiments didn’t all come out amazing, but I enjoyed it and plan to make more again soon.  I think with the stencils I was using, it would have been a much better idea to paint it instead of squirting it all over with bleach – and, when you use bleach you should have a bucket of water nearby so you can stop it from spreading and getting to areas you didn’t want it to reach.  You craft and you learn!

And here is some exciting news…Camp Canadensis now has Pinterest! Click below and follow us…

Follow Me on Pinterest